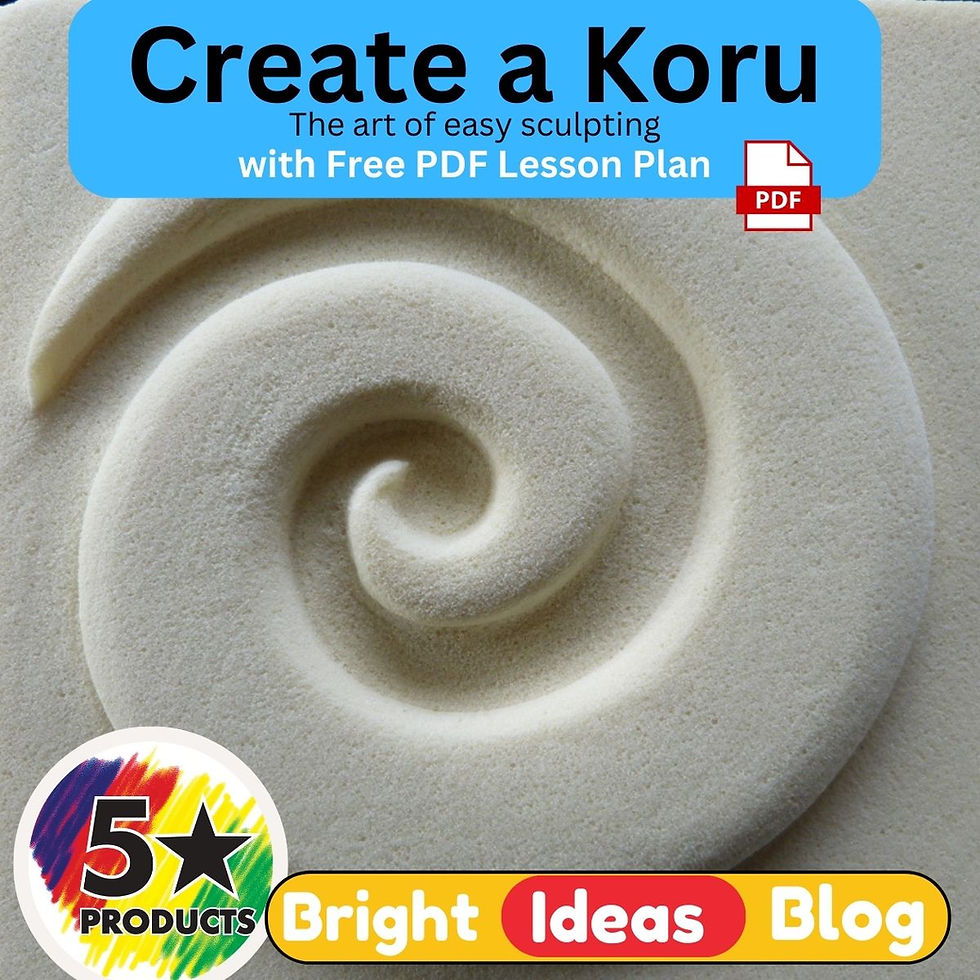
Here is a Bright Idea: A fun sculpting creative project: making a Koru sculpture! Kids will love getting their hands dirty and expressing themselves through art. Let's get started!
Download the FREE PDF worksheet:
What You'll Need:
Let's get Started:

Step 1: Draw or trace a Koru onto the surface of the Sculpture Block using a pencil..
Step 2:
With one of the V-shaped carving tools, carefully carve along the lines of the Koru, creating a deep groove.

Step 3:
Use the Flat Rasp and the Curved Rasp to file down the area outside the Koru, making it approximately 10 mm below the Koru and ensuring it's level all around.

Step 4:
Carve out the centre of the Koru using the V-shaped carving tool, making sure the line is wide enough to fit the Curved Rasp with the flat end.

Step 5:
Using the Curved Rasp with the flat end, file out the inside curve of the Koru.
Step 6:
Once satisfied with the depths of the recessing inside and outside the Koru, use the Curved Rasp to round and smooth all the edges around the Koru.
Step 7:
Finish by using fine sandpaper to smooth the entire surface of the sculpture, giving it a polished look.

Tip: Try Painting your Koru.
Creating a Koru sculpture is a fantastic way for kids to explore their creativity and learn about sculpting. They can bring their imagination to life in 3D with just a few simple tools and steps. Have fun creating your own Koru masterpiece!


Comments